I am a Kitchen Designer, and you know the saying about the shoemaker’s kids? Well, that applies to our kitchen. It’s terrible. It’s ugly, outdated, and extremely inefficient. Fixing it would be a major undertaking (i.e. completely gutting the whole thing and starting over), which we just can’t do right now. So we’ve done little things over time to make it a little more tolerable, like replacing the awful tile countertops with laminate. Yes, laminate doesn’t have the best reputation in the industry, but guess what… it doesn’t have grout lines, and that’s a major step up in my book.
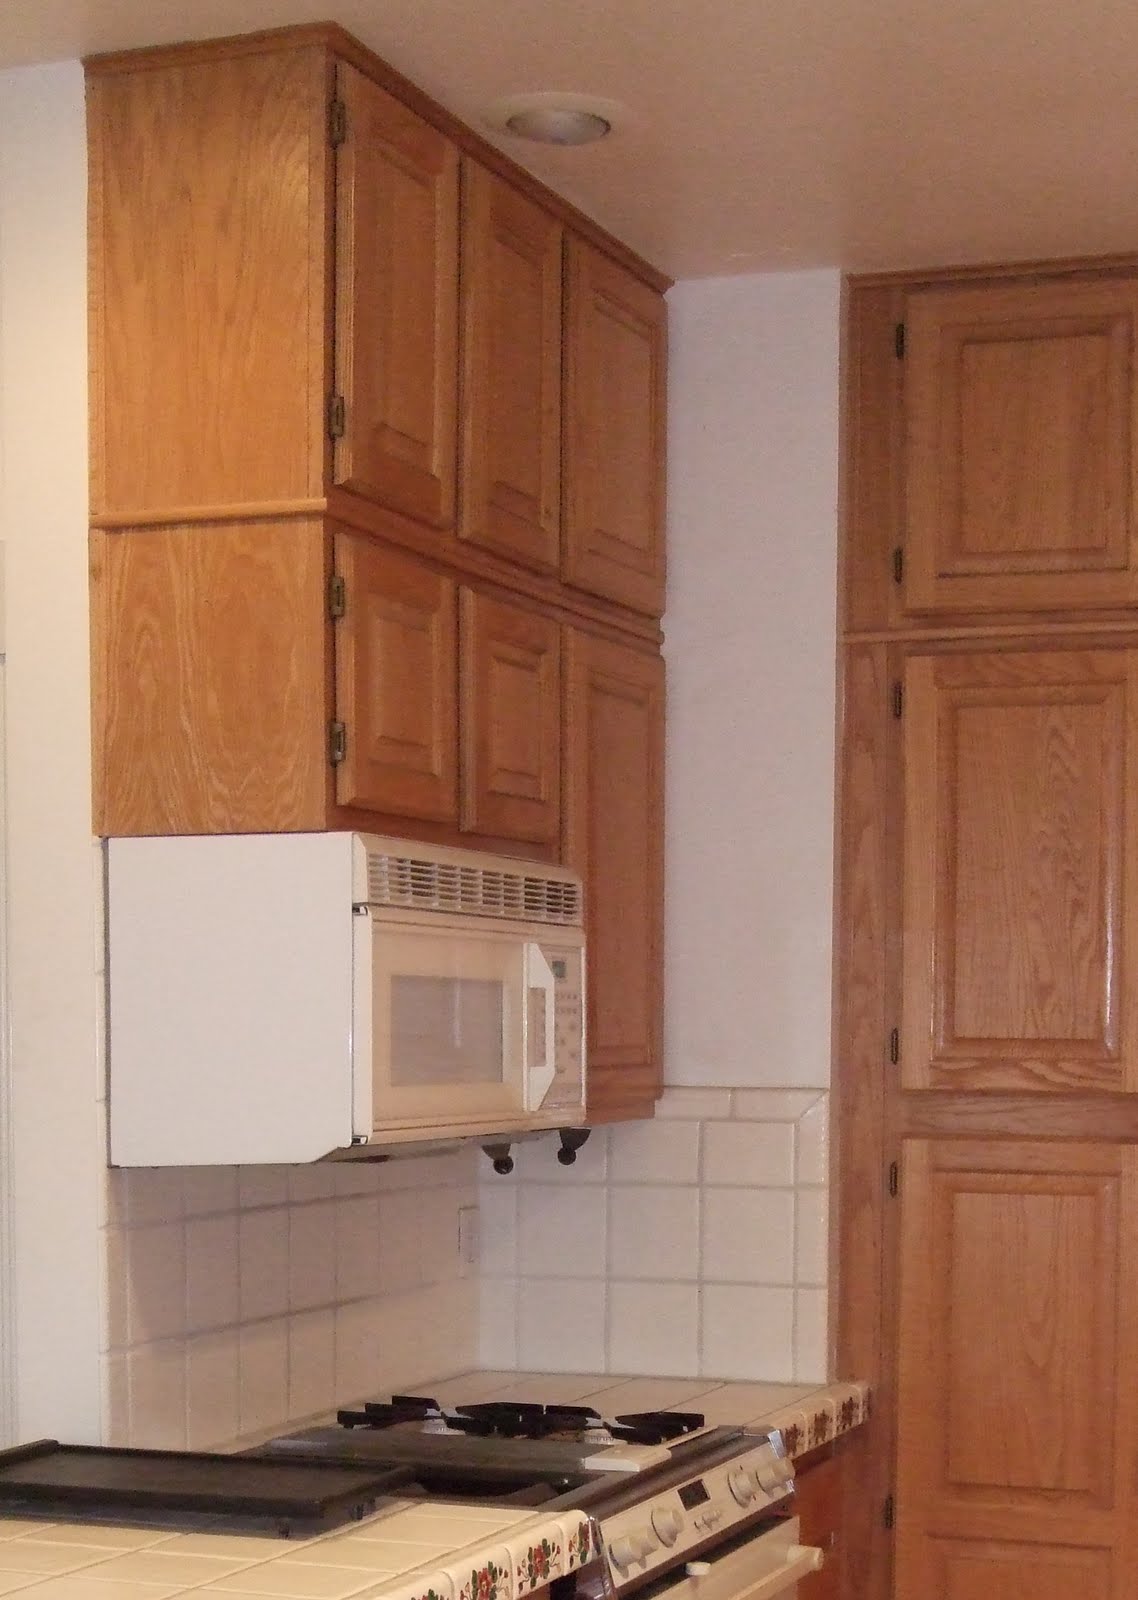
I really don’t like microwave hoods. And I especially don’t like them at the end of a run of cabinetry. The sides of these hoods are not intended to be exposed. And I really really dislike them when they are mounted too low. (Note: Most manufacturer’s specs will typically say the recommended mounting height is 66″ from the top of the microwave to the floor. In my opinion, this is WAY TOO LOW if you actually want to be able to see and stir the contents of the pots on your back burner.) Regardless, this is exactly the set-up that came with our house. About 6 months ago, our microwave exploded. Fortunately it was covered under our homeowner’s warranty, though unfortunately our claim got lost and it took months to sort it all out. We finally got the replacement microwave but hesitated to actually install it, because both of us hated having the microwave in that location. So, after days of pondering over our options, we decided if we had to have a microwave in that location, we should at least be able to raise it, which might make us despise it a little bit less.
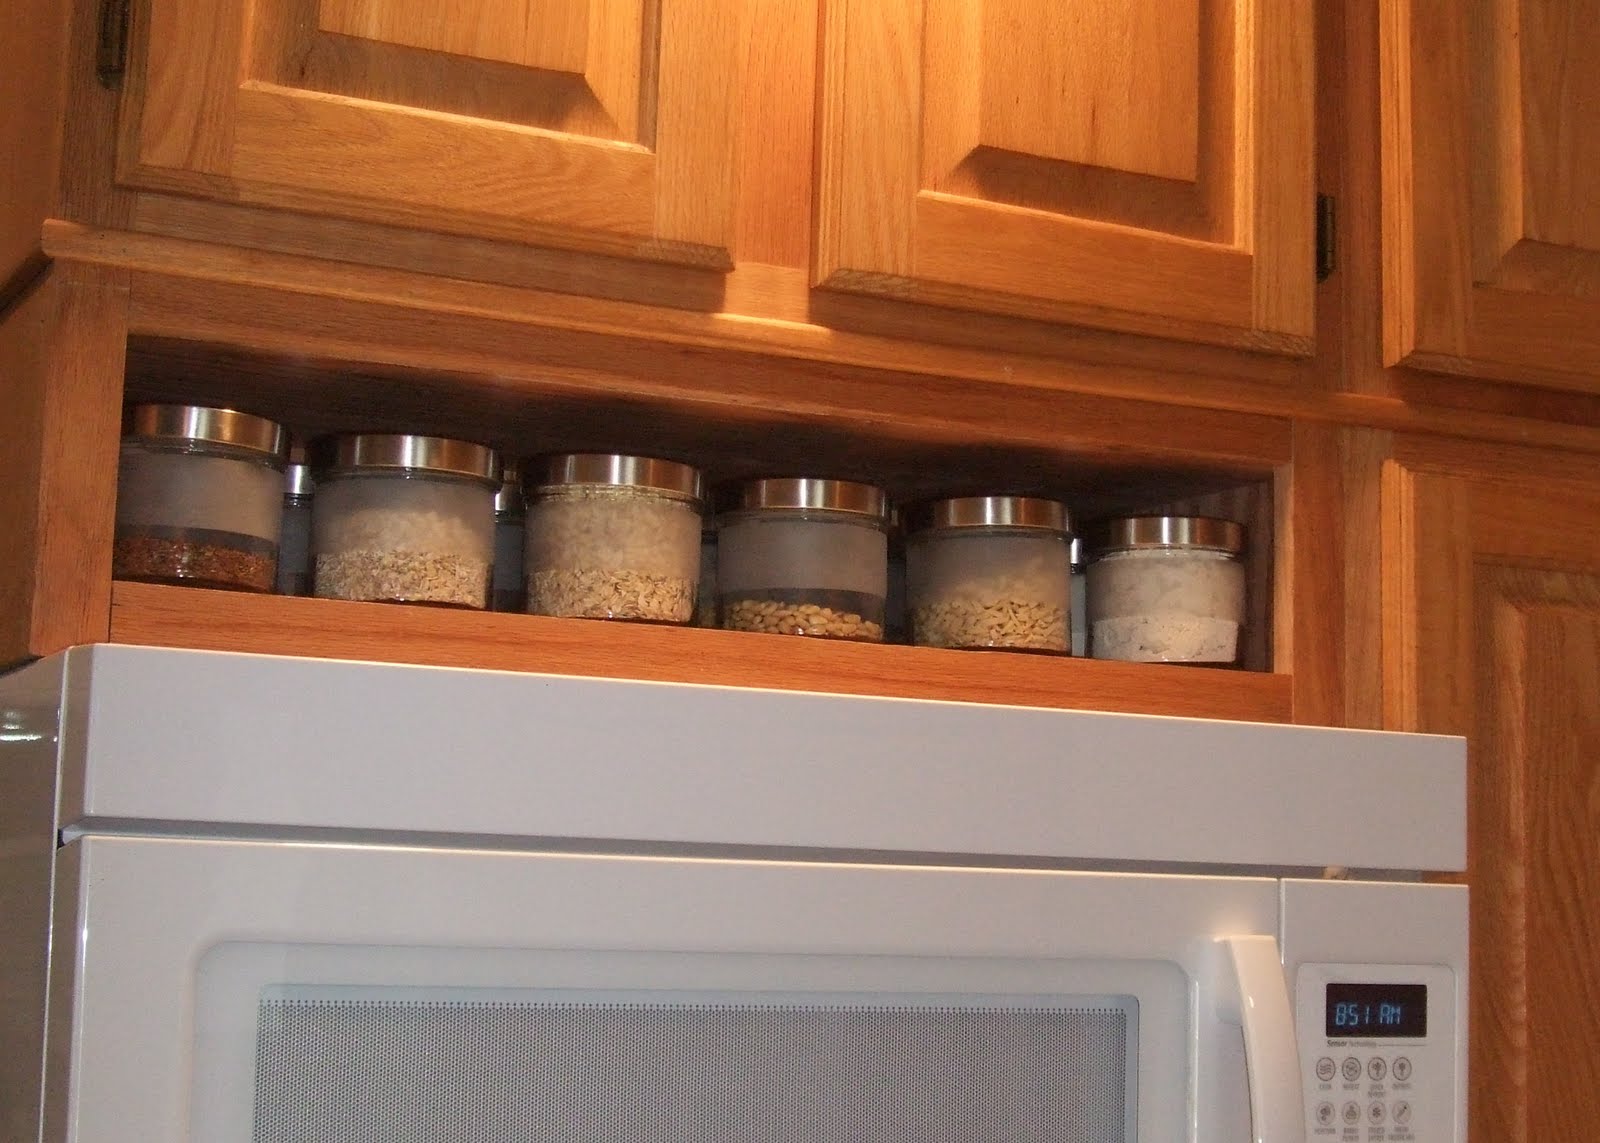
I’m lucky to live with a handyman who loves to cook and was therefore just as motivated (probably even more so) to do something about the microwave. He took the upper cabinet down and somehow miraculously rebuilt it in the garage (note, we don’t have a woodshop or most of the tools needed to do this type of work). So now we have a shorter open-shelf cabinet, which is great for storing everything from the bulk food aisle. The microwave is now much higher (maybe too high for some, but we’re tall and have no children, so it’s perfect for us), and we can happily cook without cursing about the microwave getting in the way.
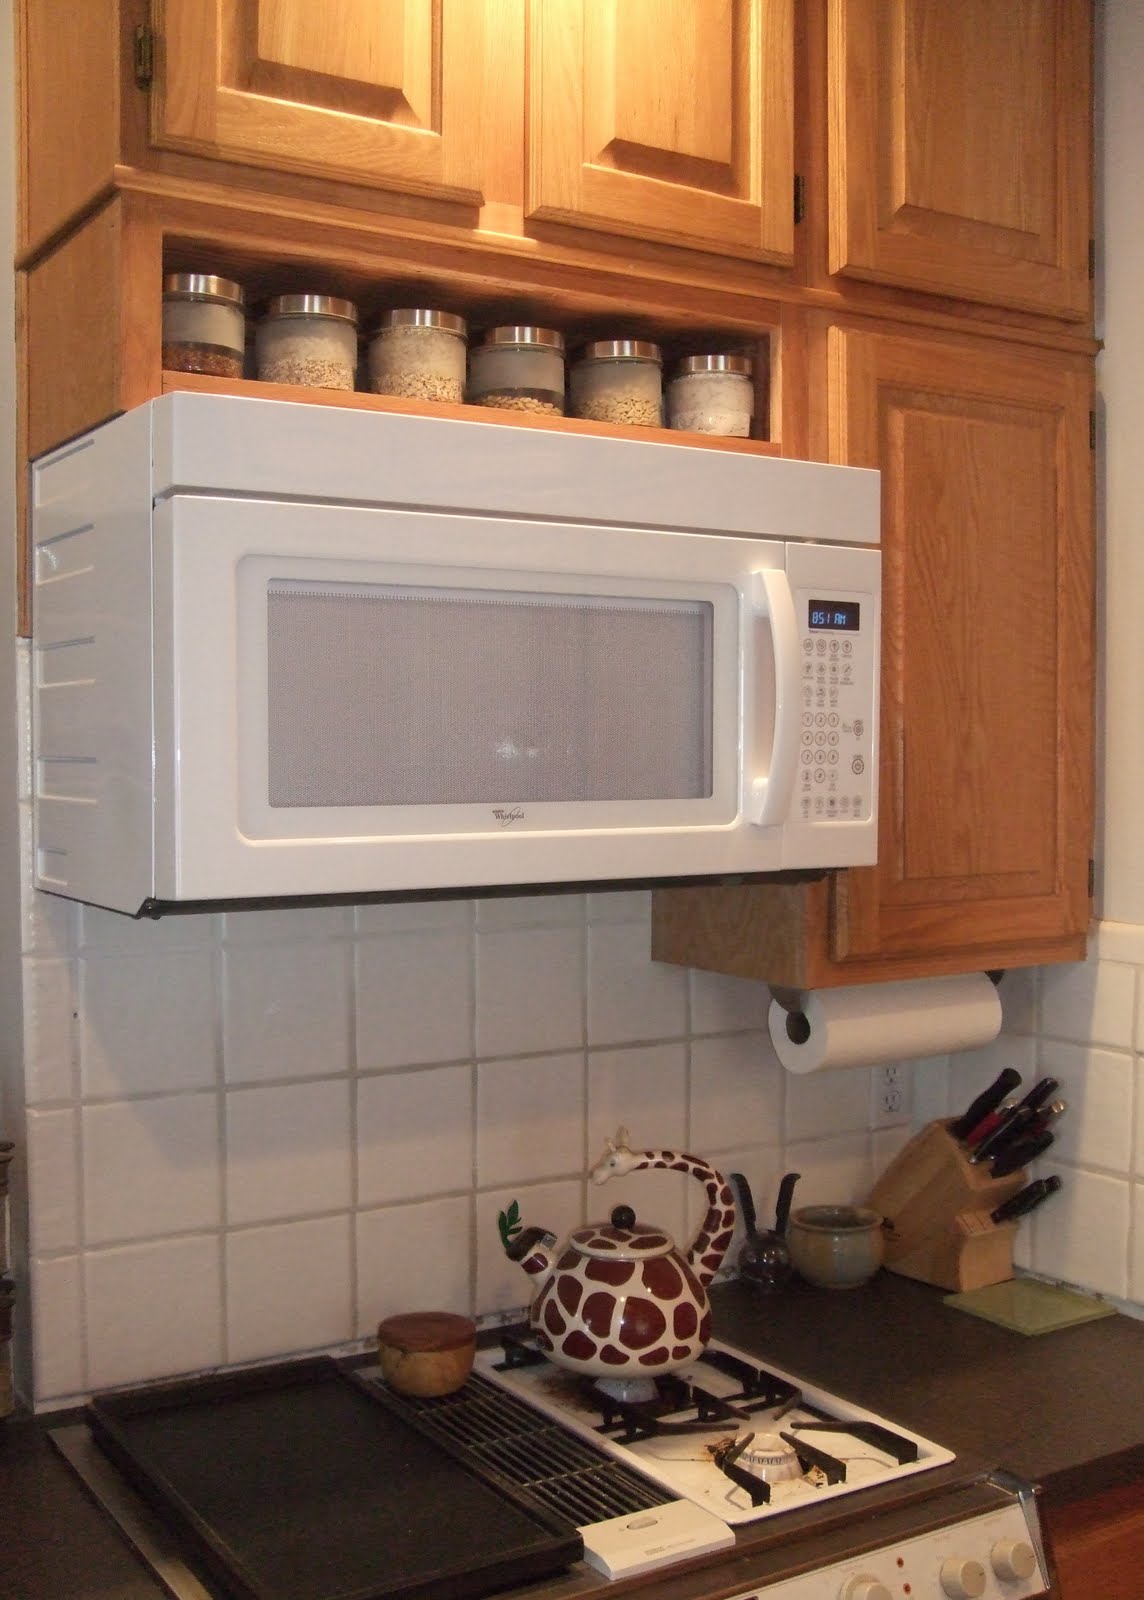
I really like having the short open shelf there. The jars are a nice touch, helping to break up the expanse of Honey Oak.
And I don't miss the tile counter top at all!
Mike
Hi, I do like your blog, and it's refreshing to see your reality re. the microwave and the end being exposed, but you've still made a big improvement. Kitchen design is an art in itself, and I have a blog too, http://www.cleverspaces.blogspot.co.uk. p.s I'm v envious of Gwyneth P's kitchen you show on your blog, wish it was mine 🙂